Modular Cathedral Kit
 Available On: Itch
Released: February 2023
Available On: Itch
Released: February 2023
This was a project I created as part of my masters course and as a submission for the Grads In Games Search For A Star Environment Art competition. I spent a good amount of time investigating different retopology workflows, experimenting with the different tools available so I can make informed decisions moving forward. The final result of this project was a stained glass material and a flexible brick material made in Substance Designer that allowed easy creation of variants in engine, a modular kit to allow quick building of cathedral-like assets, and an example scene showing this kit and the materials in use in UE5.
Concepting and Design
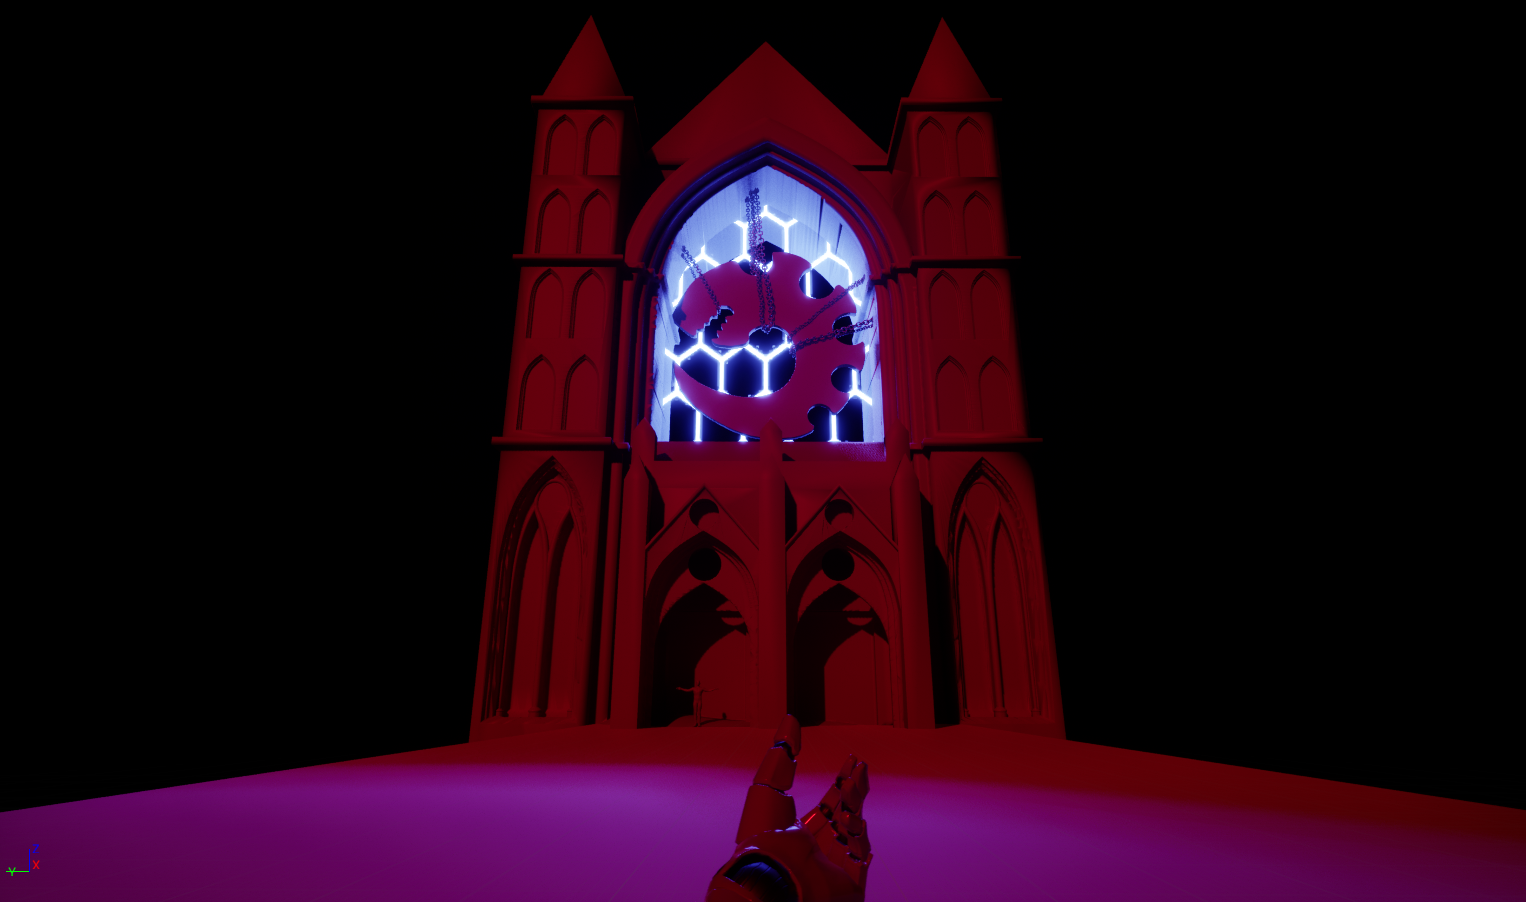
I started this project gathering a lot of reference, planning to develop an environment that could be submitted for the Grads in Games Rising Star competition. My idea started as a desecrated church, pulling reference from abandoned gothic churches, occult rituals as portrayed by hollywood more than real life, and style reference from environment artists for Runescape. Having gathered a large reference board to pull from I began working on concept developing, using The Cathedral St. John The Divine (www.stjohndivine.org, n.d.) as primary reference, and using the Genestealer Cult (Lexicanum, 2022) iconography for the central detail.
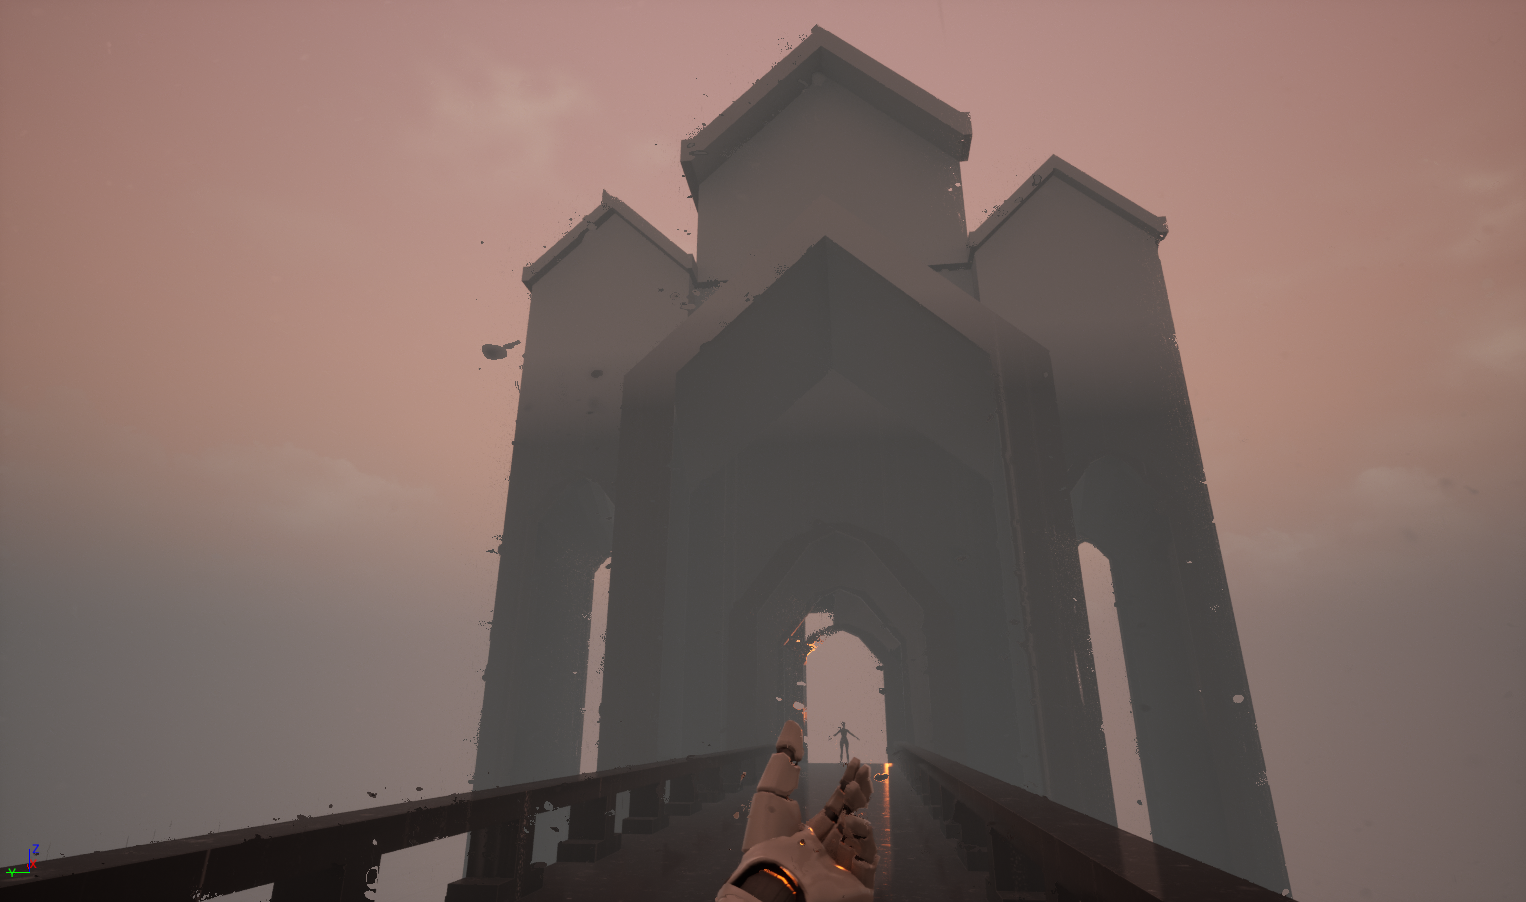
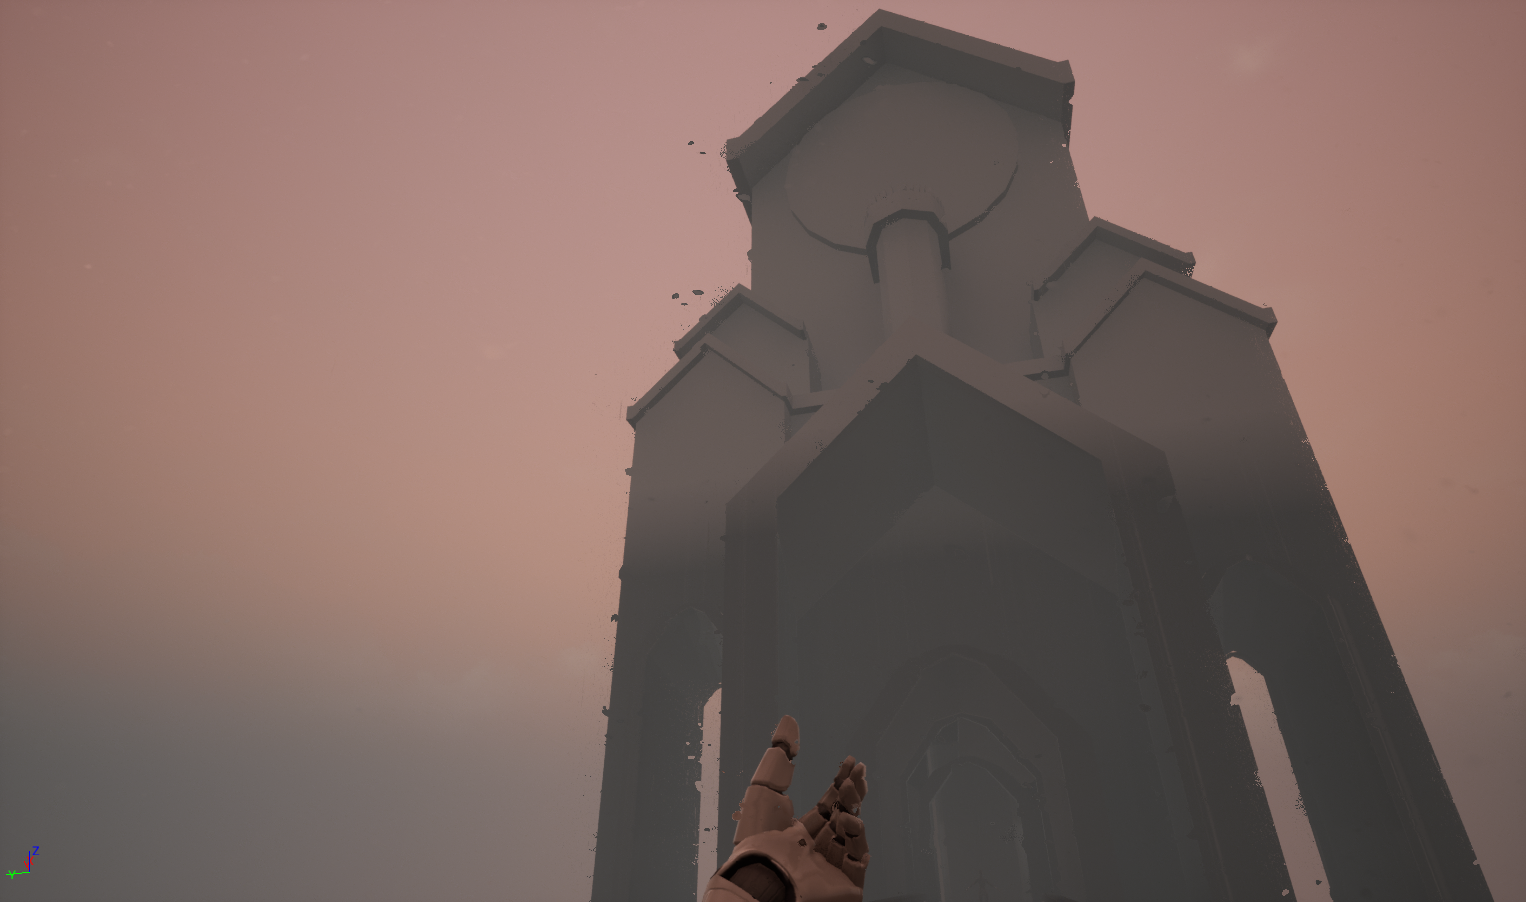
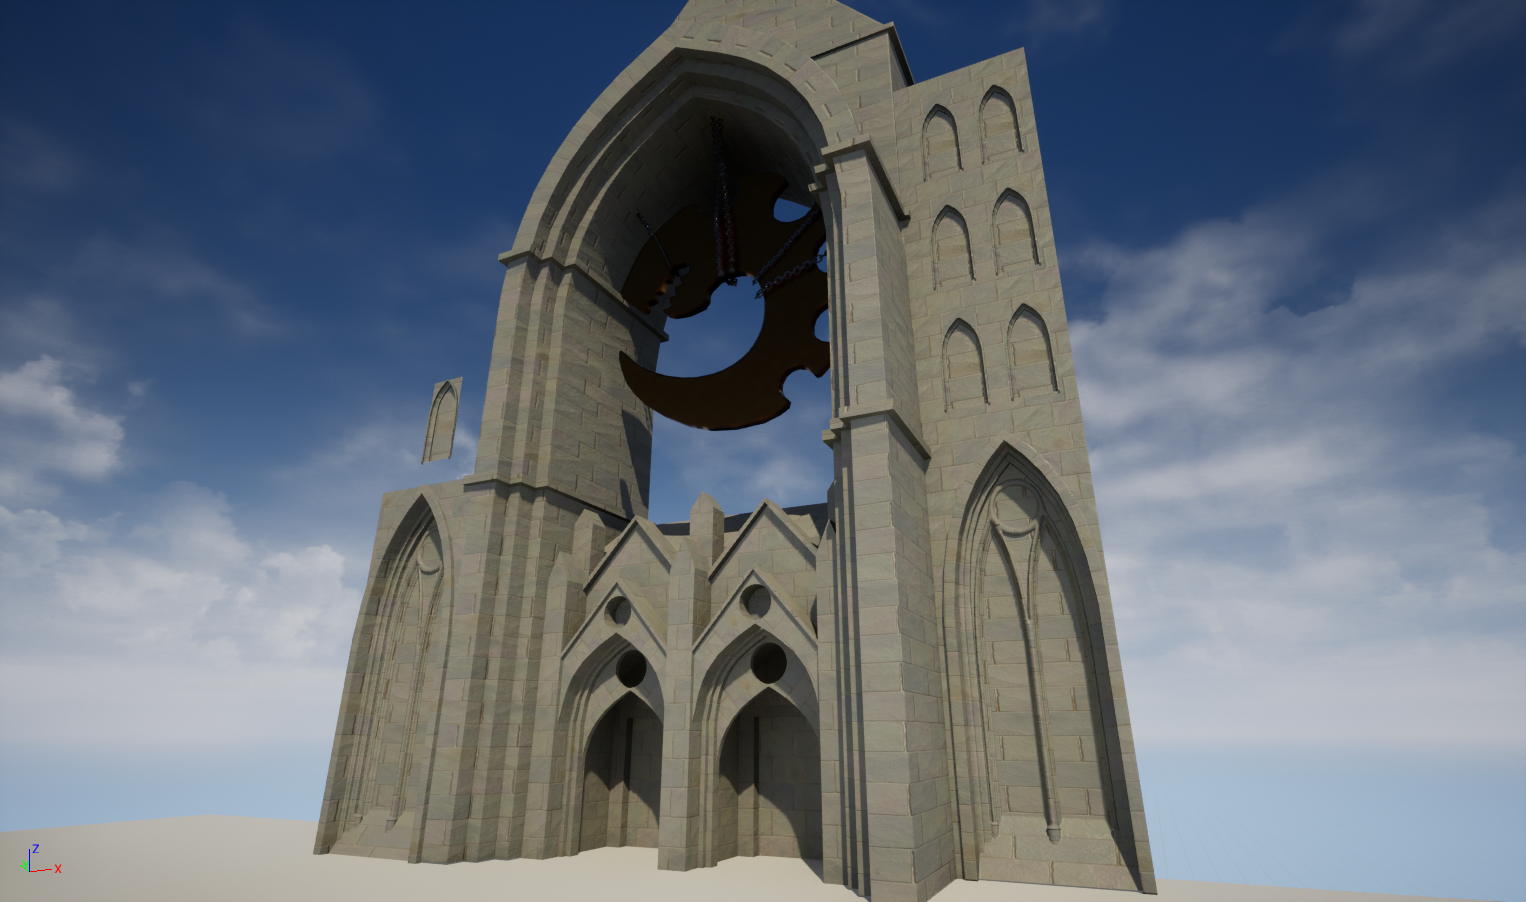
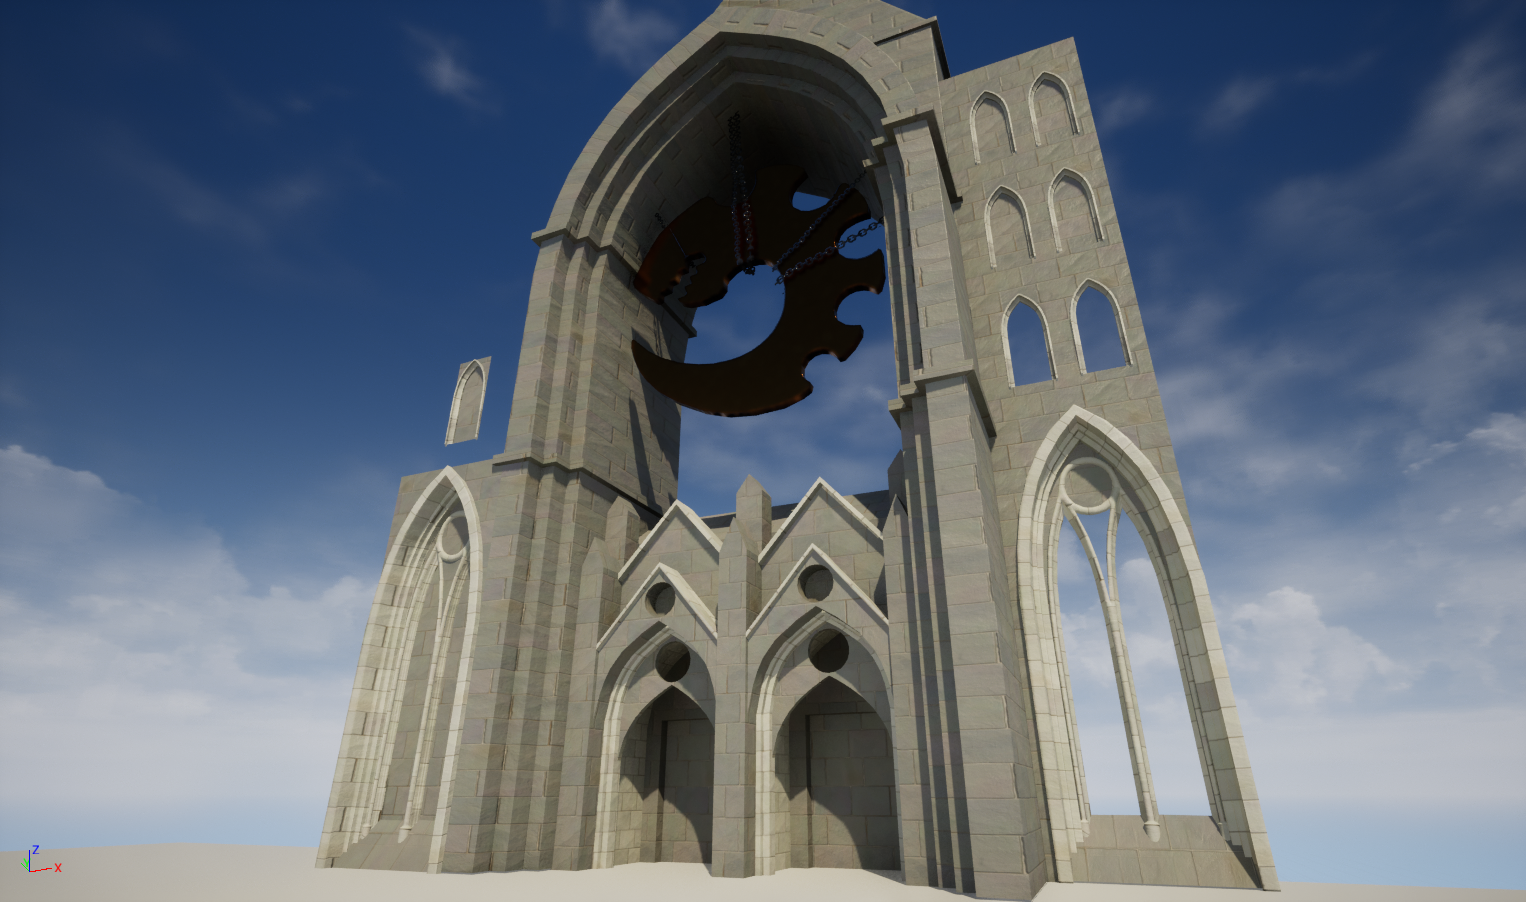
I started with an initial blockout in Maya, which was exported very early into UE5 to do a lighting pass, allowing me to develop the atmosphere of the project alongside the assets for it. This blockout process was very iterative, refining and exporting it back into engine regularly to get an idea of the shapes I wanted and see how they looked when properly lit. I discovered I could export Maya scenes to FBX via command line, so wrote a tiny script to remove some of the manual steps from this process. You can see development shots below, including trialling squarer designs for the top section, before deciding it didn’t fit the theme I was aiming for and replacing it with more layers of angled-roof towers. As you can tell from the iterations below, while my idea started as an interior I have shifted to an external shot as I felt more drawn to this. I also hoped this would avoid me having to develop a collection of unique props for set dressing, instead focusing on a modular kit.


After these initial iterations I moved into zBrush to do a more detailed blockout. I switched to zBrush as I wanted to try zModeller, partly because it has live booleans and I enjoy the dynamic workflow they enable.
Substance Designer
This project would primarily use a tileable stone brick texture, so I began looking into Substance Designer to create this. I used this tutorial (3dEx, 2018) as a starting point as it answered key questions on how to make a texture tileable, and general navigation. I found the software very intuitive so broke away from the tutorial quickly, my programming background helping significantly as the node-based system is just visual scripting (Tabnine Team, 2021) which I’m familiar with.
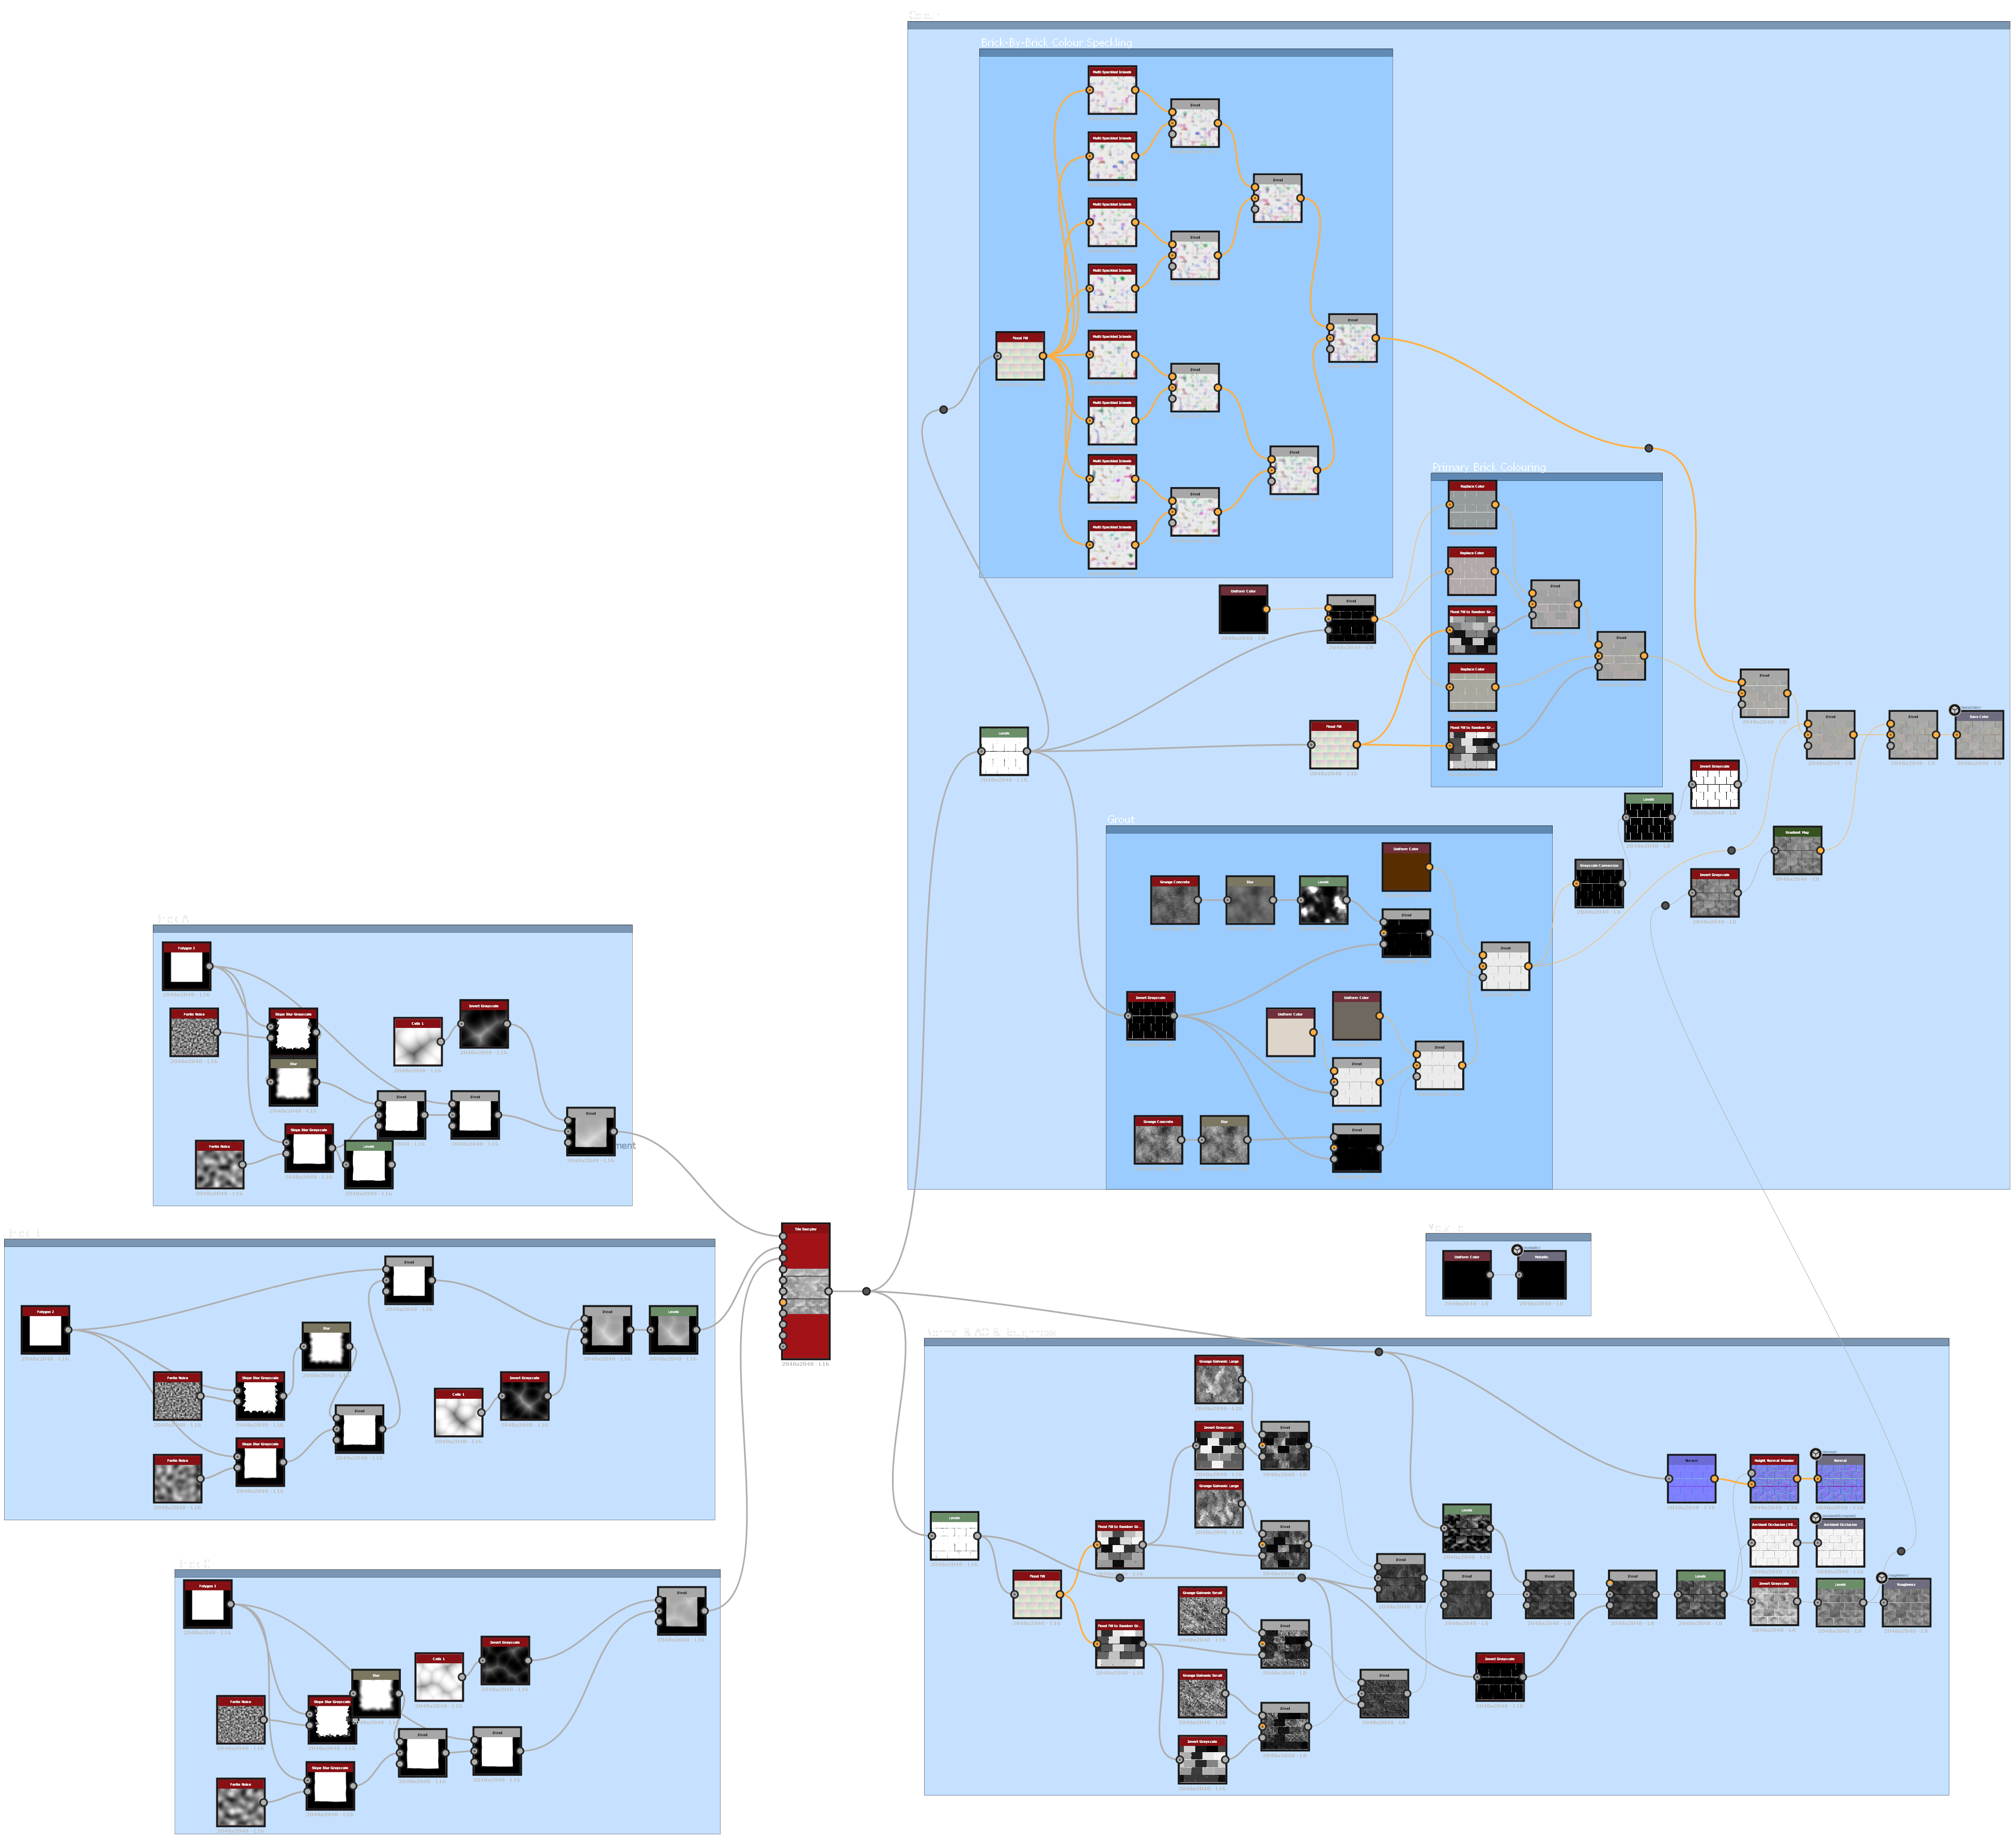
To produce the final version of this texture I have several main sections, shown in the graph below.
Firstly, it generates three variations of brick shapes, using several layers of blended noise to rough up the edges, and another layer of noise to create a raised highlight running across the brick, which is fed into the Tile Sampler node to create a tileable texture. The graph then diverges into two separate branches, one to generate the normal, ambient occlusion (AO), and roughness map, and the other to generate the base colour.
The normal, roughness, and AO maps are generated by creating a greyscale map with different values per brick, a technique I use repeatedly, which is then used as an opacity mask to blend various noise maps together. This gives both large and small scale variation, while the blending of multiple maps helps to minimise any continuous shapes that could extend over multiple bricks.
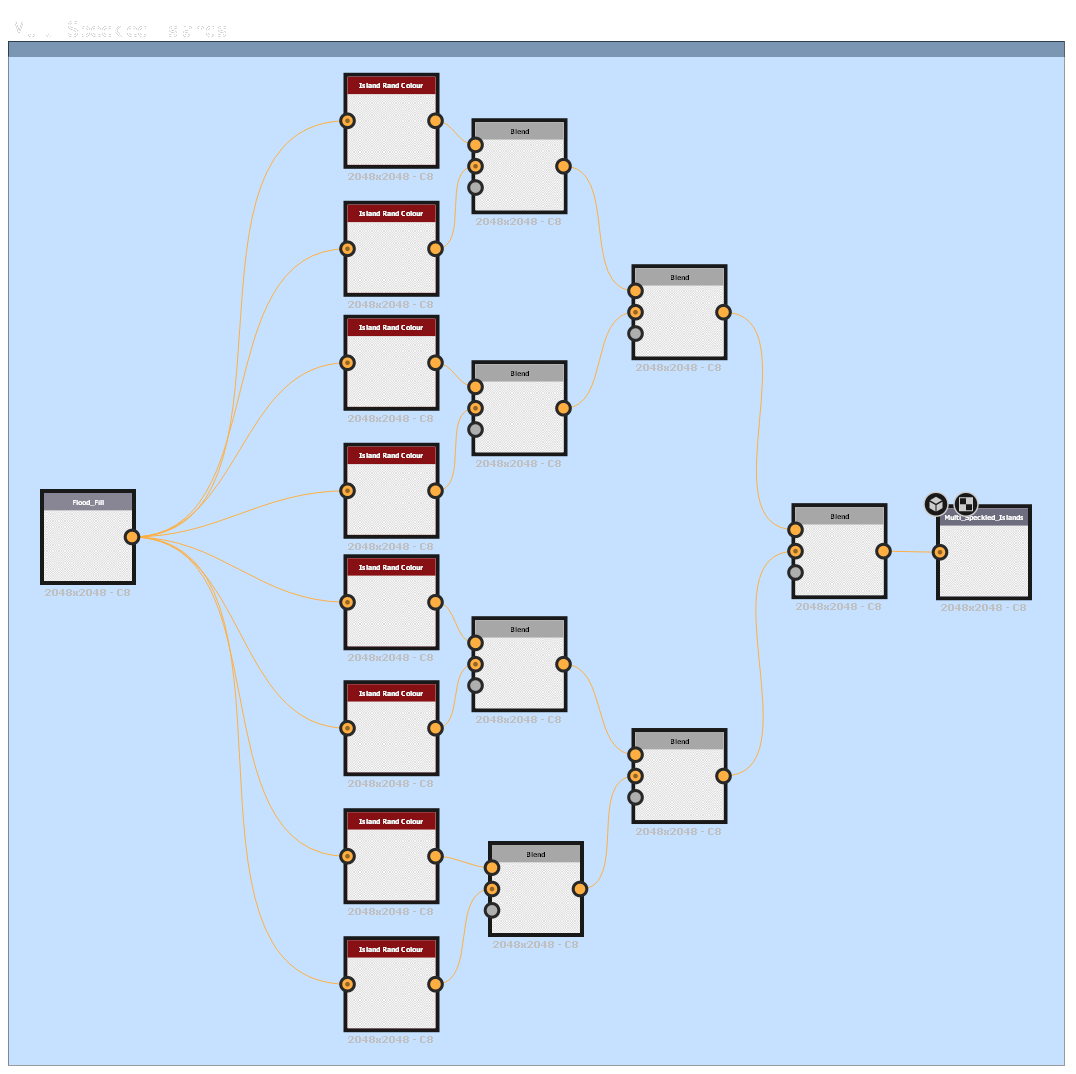
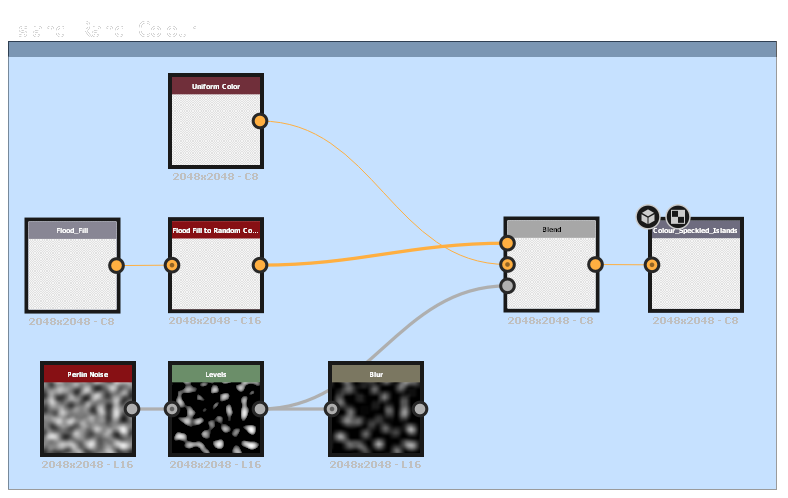
Generating the base colour is handled in two separate parts, the grout and the bricks. The grout layer is the simplest, with just a base colour, which is editable in engine, and a dirt colour overlayed using a simple noise mask. The bricks are more complicated, again using random greyscale maps with different values per brick as masks to apply three separate base colours to the bricks, all of which are customisable in engine. Multiple layers of colour are layered subtly over this, giving each brick a unique pattern. These layers are generated by creating a map where each brick has a random colour, and masking out parts of this with noise. This is repeated, with each new layer blending with the others, so that by the end each brick has many specks of different colours. Due to the repeated layering this process has been broken out into two sub graphs, Multi_Speckled_Islands and Island_Rand_Colour, to keep the main graph more readable.
As with all of my work, I took a very iterative approach for the development of this asset, regularly importing the texture into UE5 to see how it looked in engine before making further changes to refine it, several stages of which can be seen below.

Early importation into engine allowed me to set up the engine material early and refine it, for example I set it up so it tiled, then realised it tiled in the objects local space, requiring custom scaling per asset. I then implemented world scaling manually, before discovering there was an existing node for this. This allows the use of a single primary material controlling the brick scale for all assets, which is then instanced if an asset has unique normal or AO maps.
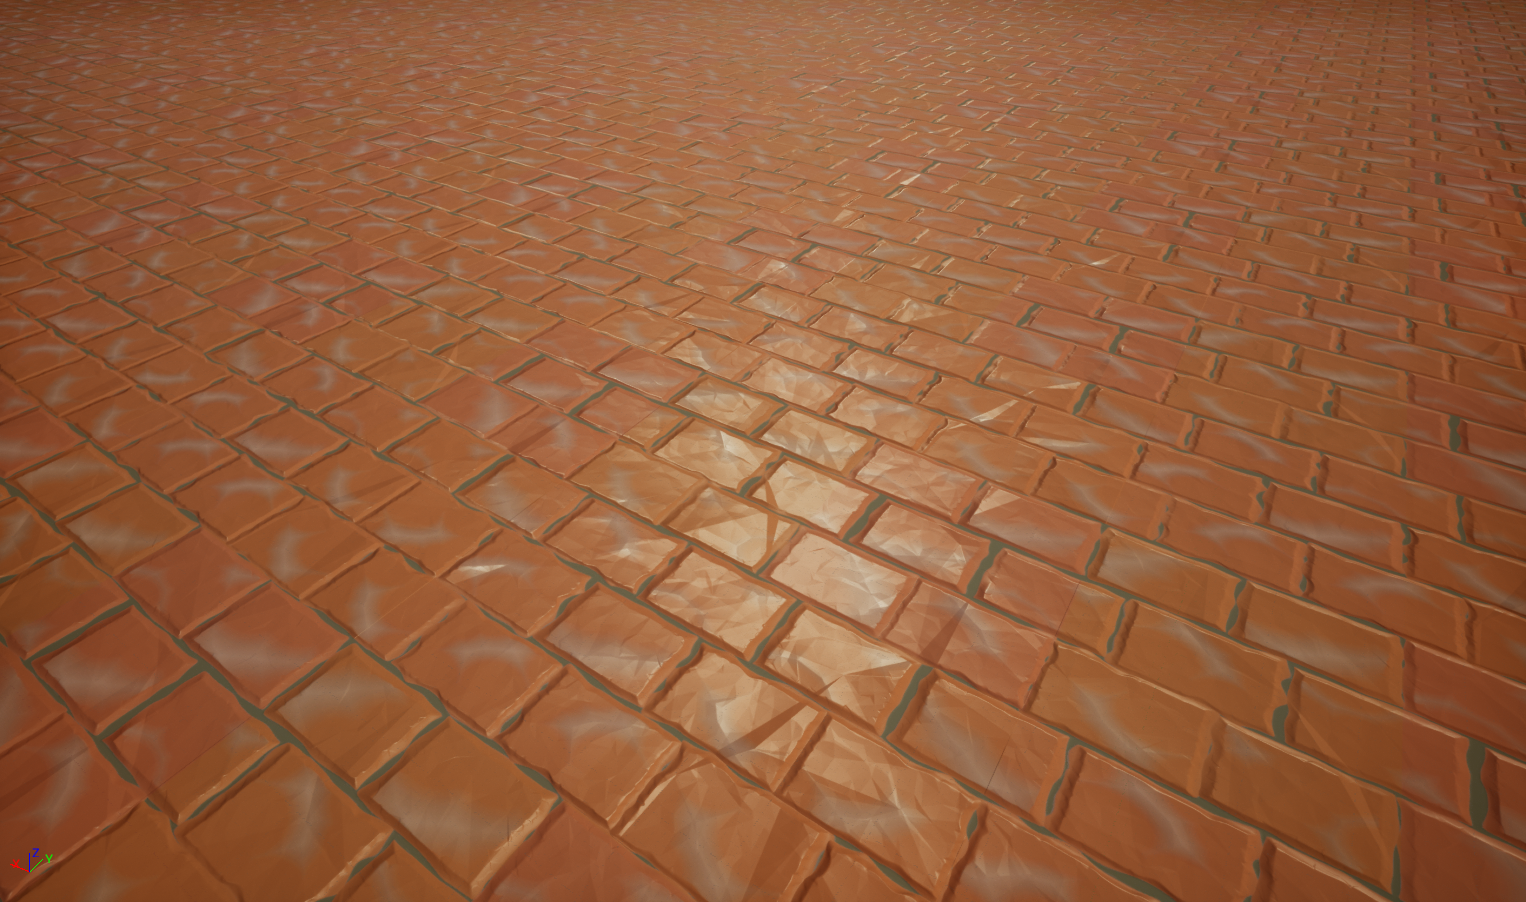
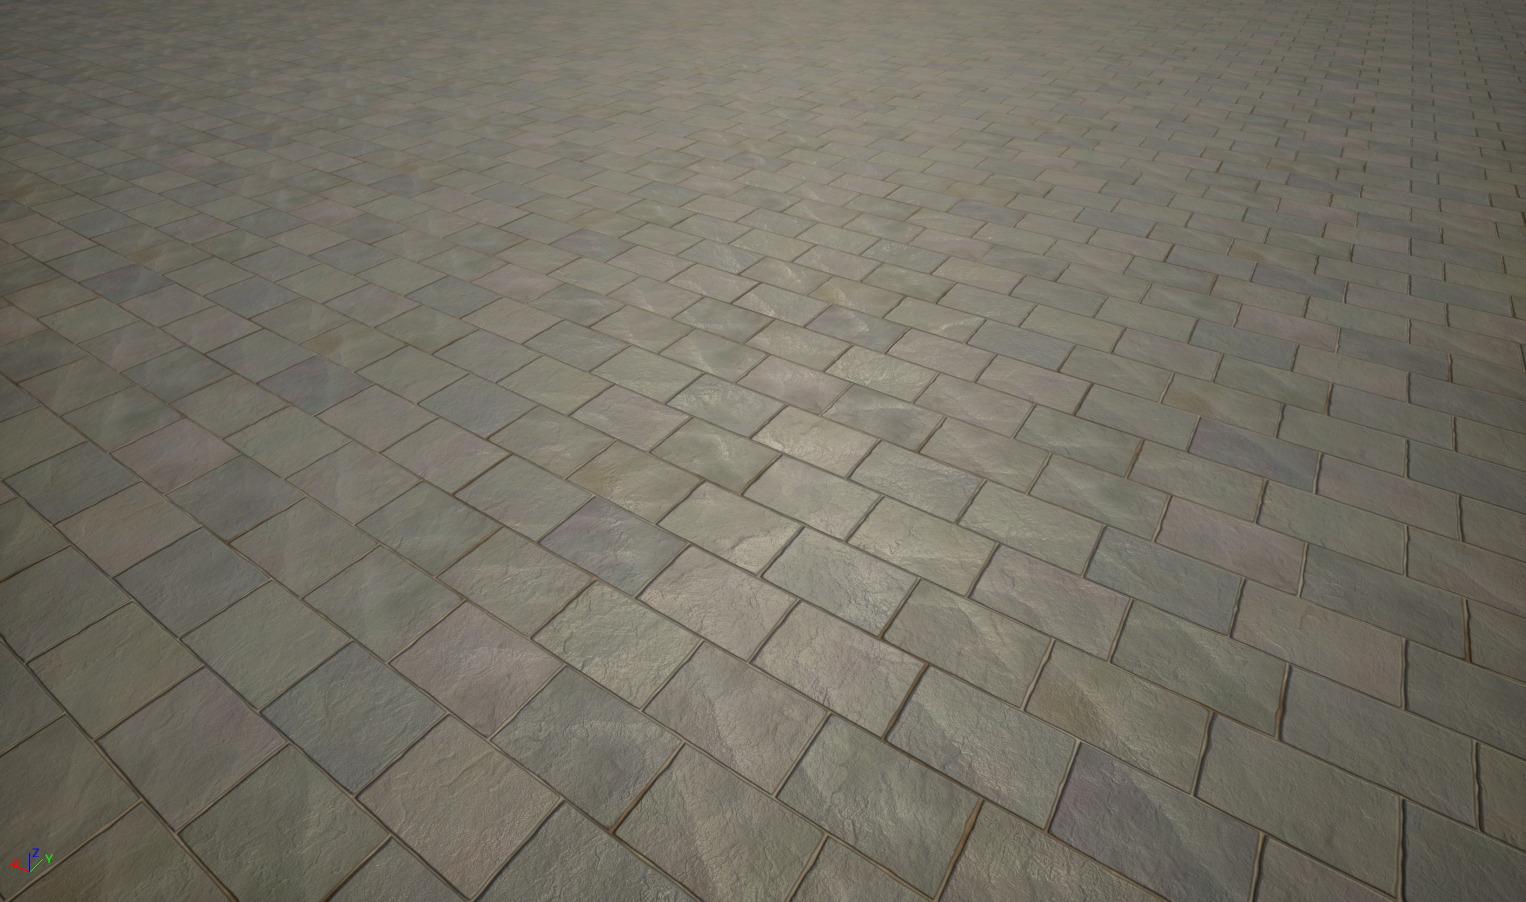
Below you can see several brick variations, which were all created in engine by modifying variables available in the main material.

Retopology
This project was also an opportunity to investigate different retopology workflows and processes, experimenting with retopology in zBrush using zRemesher, DynaMesh, and zSphere, in Maya using QuadDraw, and doing some light research into retopology in Blender.
In zBrush, I found that using dynamesh followed by zremesher provides very clean, regular topology. While excellent for curved surfaces and organics this regularity has limitations. The topology can be guided to create good flow around features, such as eyes, and while the density can be guided to an extent with weight painting it often requires adjustment after, especially for hard surface work. I found it generated much more geometry than needed in order to keep uniformity, bloating the polycount and requiring manual removal of redundant edge loops. This process of tinkering with zRemesher settings to get a good remesh, then deleting edge loops manually was actually no faster than doing the retopology in Maya, provided less control, and could actually take longer if it took multiple iterations to find good settings for dynamesh or zRemesher, something that wasn’t uncommon.
I also looked into using zSphere, however after some time of using it it appears to be equivalent to Maya’s quaddraw, however lacks features and is harder to use, making it the less preferable option.
Lastly, I investigated retopology in Maya using quaddraw. The experience of using the other available tools provided context for me to assess the industry standard, Maya, against these other options.
While in principle it is very similar to zBrush’s zSphere, I found it had several main advantages. First, being able to extrude edges, combined with live surface, is significantly faster than placing individual vertices in zSphere, and makes it significantly easier to create level edge loops across a model. I want to emphasise how much faster quad draw is, especially utilising the dynamic vertex merging when using edge extrusions, and in my opinion this is the primary advantage it has over zSphere. It is also easier to read, with quad draw rendering faces, as opposed to zSphere only rendering edges and vertices.
Although I did not experiment with blender, I did do some research and found that the workflow was again very similar to quad draw, but required more setup, adding multiple modifiers to an object and customising the objects texture in order to get equivalent functionality. This YouTube video from the channel FlippedNormals (FlippedNormals, 2019) gives a good intro to retopology in blender. While I will likely look into this in the future if I want to monetise my personal artwork, it doesn’t seem to offer any significant benefits over quad draw in Maya other than licensing (Blender, n.d.).
With this research in mind, I adopted quad draw for the rest of the retopology in this project as there are no assets that I would consider ideal for zRemeshing, and Maya is more of an industry standard than Blender.


Kit Assembly
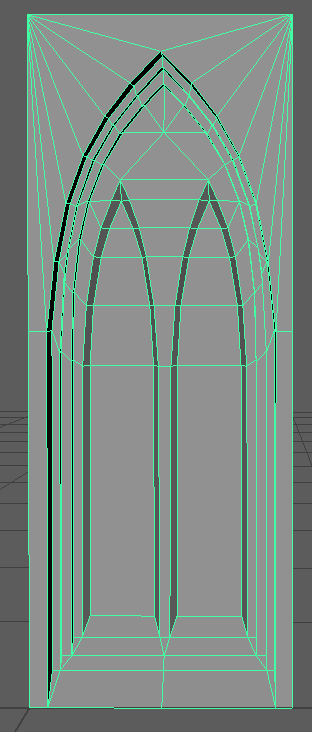
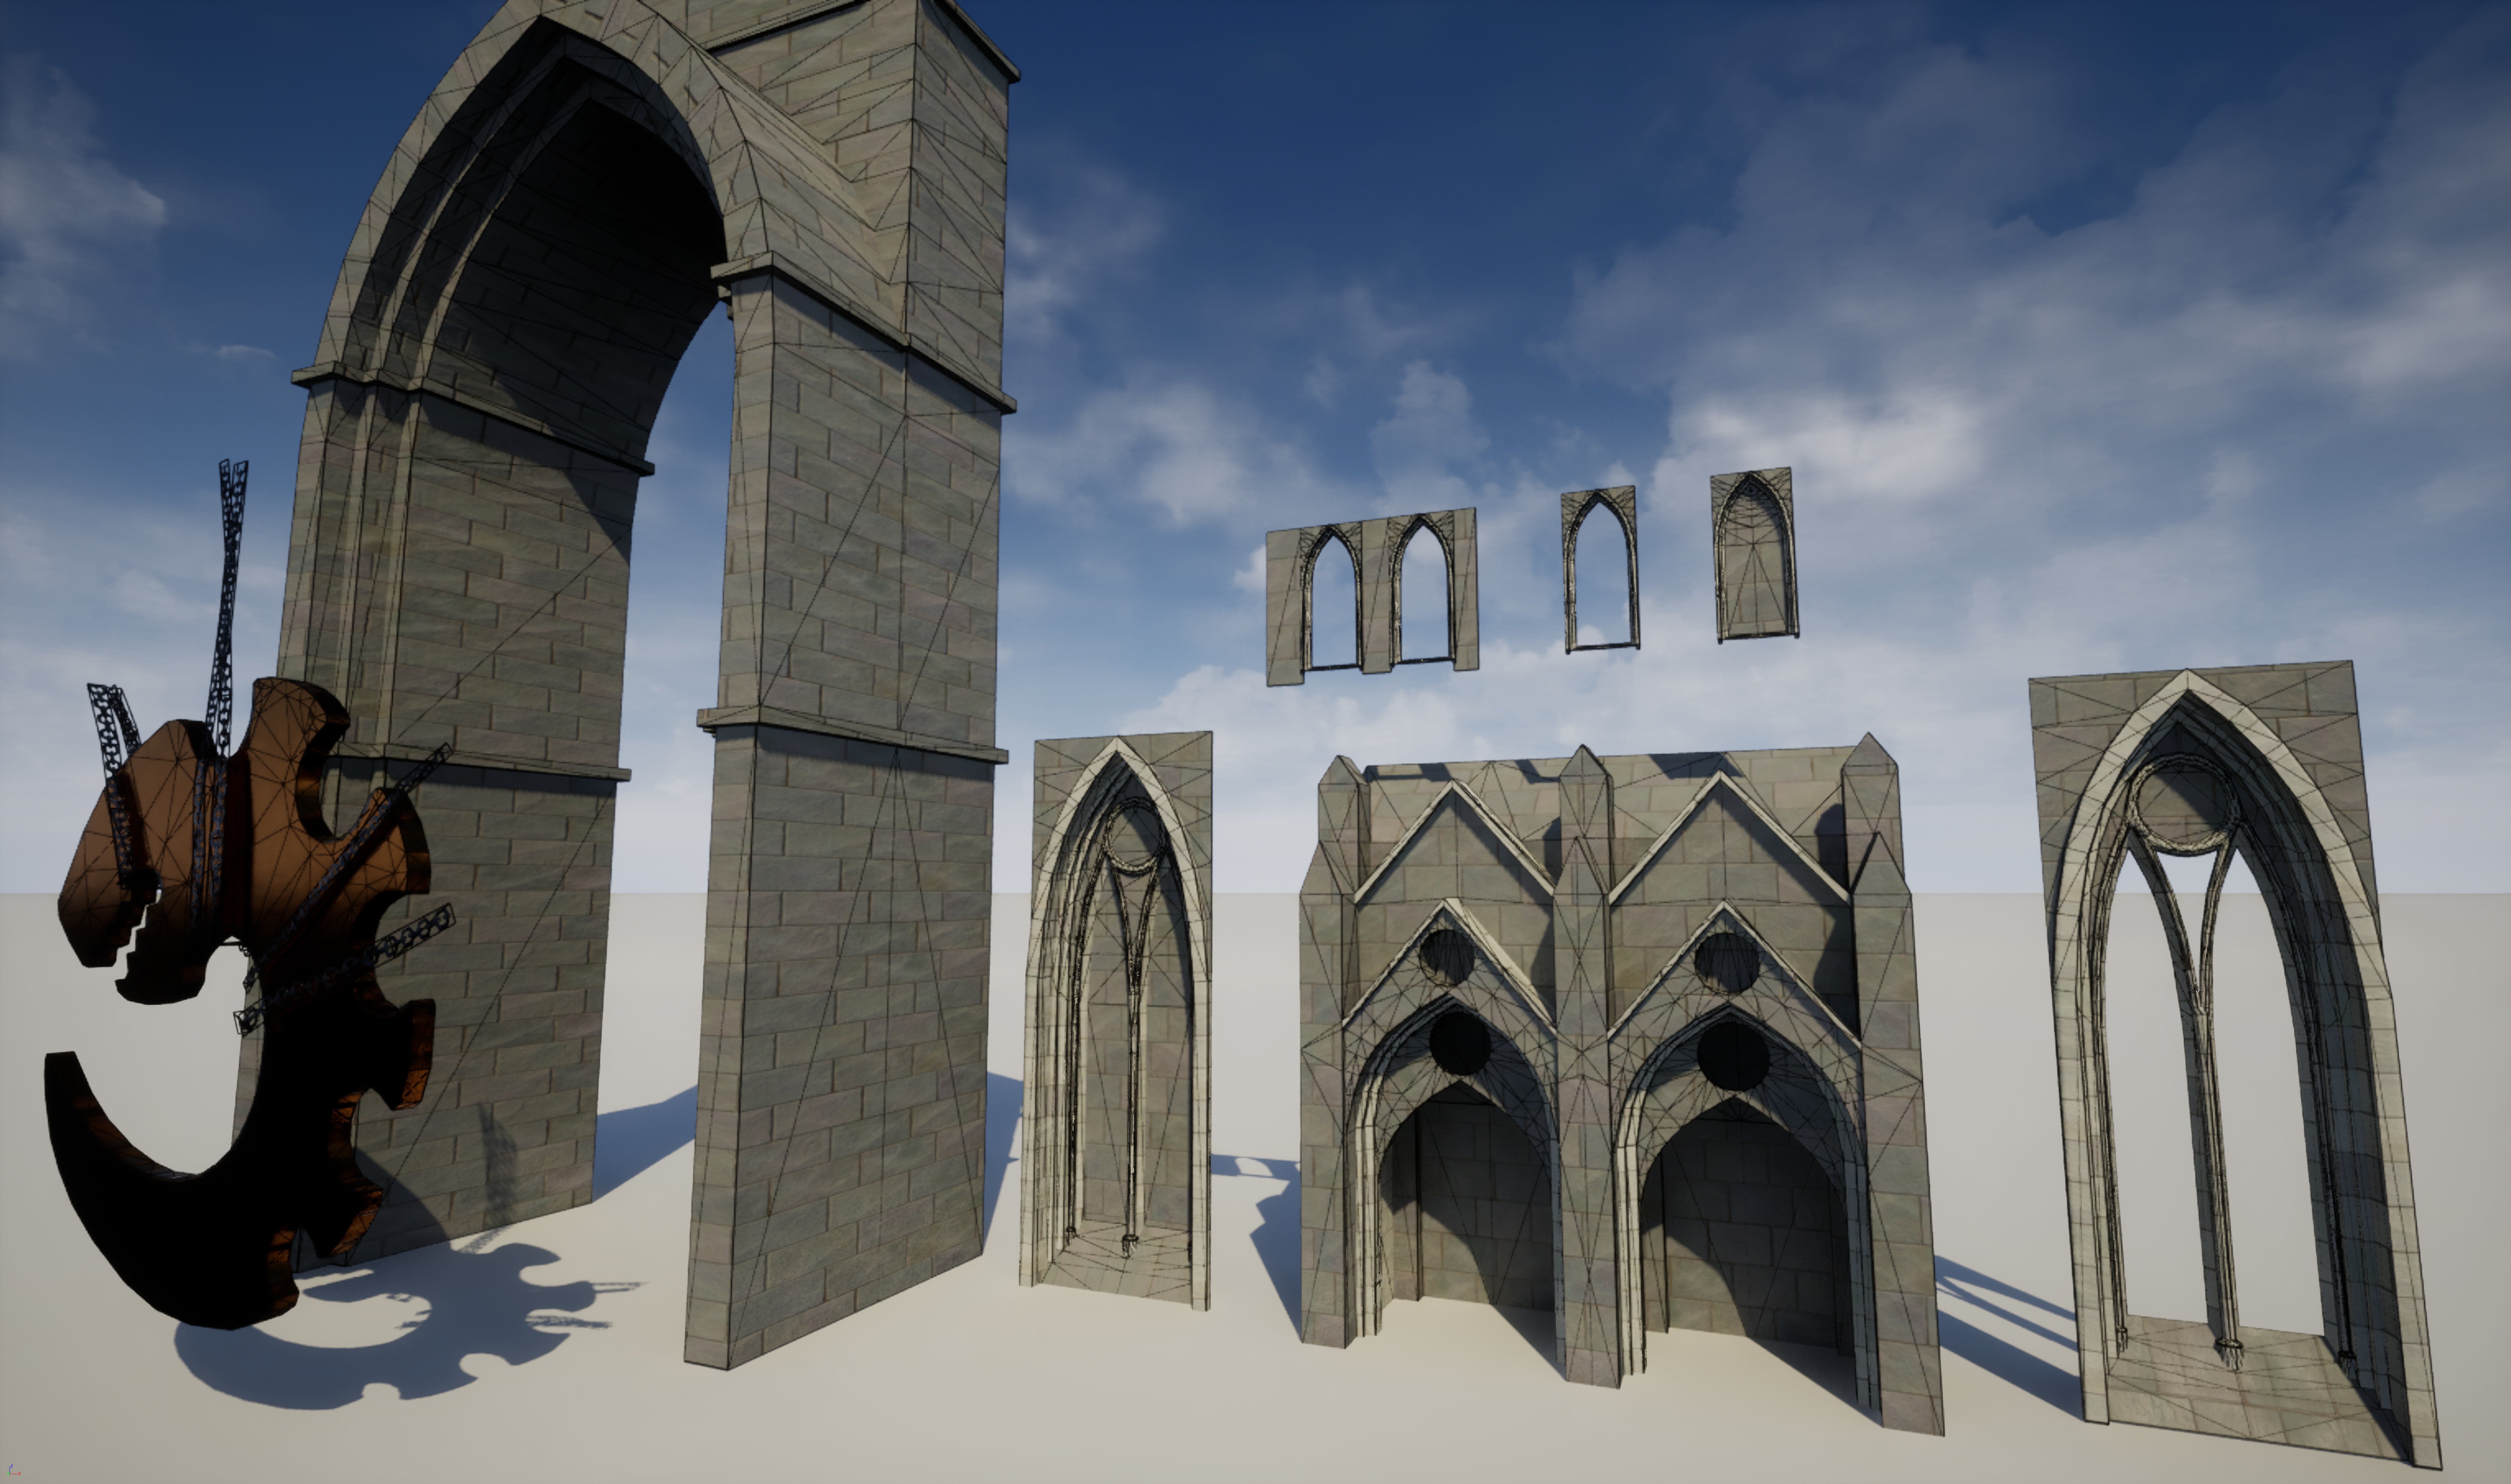
The assets weren’t built to a grid due to being developed fluidly in zBrush, so their scale required tweaking to enable clean snapping in engine. Edging panels were also added around the arched tops of the windows in order to square off the asset and pivots were standardised to the bottom left corner, providing consistency across the pack. Below you can see the created kit in engine, with wireframe view enabled.
Detailing
With the kit assembled and in engine, I was able to assess the entire pack with textures for the first time. My conclusion was that it was definitely missing something. The single material meant the asset all blended into one mass, without any clear highlights or separation. Comparing my kit to references I found I was missing a lot of the detailing and transitional pieces, ranging from plain brick linings to baroque style detailing. As a first step in fixing this, I went through my kit in Maya and moved specific UV islands to a separate material, allowing those elements to have a different material in engine, mimicking the linings seen on my references.
Conclusion
While there is certainly more I could do with this project, I’ve gotten a lot out of it already, more than the project was initially intended to provide! While I could push it further, sculpting more fine detail for the assets, I’m happy with the state of the project as it stands and have decided to leave it here for now. It’s been an invaluable learning experience for zBrush and Substance designer, and I am incredibly proud of the tileable stone texture I created. It’s also given me significantly more practice UVing and forced me to think about how the asset will work with a tiled texture when unwrapping, a perspective that I expect to be helpful not just with tileables but with trim sheets moving forwards.
References
FlippedNormals (2019). Retopology for Beginners in Blender 2.8 - Retopo the Correct Way. [online] www.youtube.com. Available at: https://www.youtube.com/watch?v=CuQzPDs99yM [Accessed 3 Jan. 2023].
3dEx (2018). Substance Designer - Stylized Bricks. [online] www.youtube.com. Available at: https://www.youtube.com/watch?v=VMfVQs5G-gE [Accessed 3 Jan. 2023].
Tabnine Team (2021). What Is Visual Scripting & How It Works. [online] Tabnine Blog. Available at: https://www.tabnine.com/blog/what-is-visual-scripting/ [Accessed 3 Jan. 2023].
Lexicanum (2022). Genestealer Cult - Warhammer 40k - Lexicanum. [online] wh40k.lexicanum.com. Available at: https://wh40k.lexicanum.com/wiki/Genestealer_Cult [Accessed 4 Jan. 2023].
www.stjohndivine.org. (n.d.). Cathedral of Saint John the Divine. [online] Available at: https://www.stjohndivine.org/.
Blender (n.d.). License. [online] blender.org. Available at: https://www.blender.org/about/license/ [Accessed 12 Jan. 2023].